


Mastering the Art of Using a Floor Grinder: Your Step-by-Step Guide for Flawless Floors
Mastering the Art of Using a Floor Grinder: Your Step-by-Step Guide for Flawless Floors
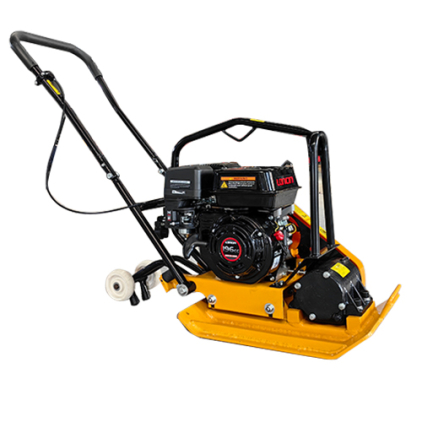
![]() Why Use a Floor Grinder?
Why Use a Floor Grinder?
 Why Use a Floor Grinder?
Whether you're prepping a concrete floor for epoxy coating, removing old adhesives, or smoothing uneven surfaces, a floor grinder is the ultimate tool for professional-grade results. But using a floor grinder effectively requires know-how. In this guide, we’ll break down everything you need to achieve a polished, durable finish—while boosting your DIY or professional project’s success.

Step 1: Choose the Right Floor Grinder for the Job
Not all floor grinders are created equal!
Electric vs. Propane: Electric models are ideal for indoor use (less fumes), while propane grinders suit large outdoor areas.
Disc Size & Power: Smaller discs (4-7 inches) work for edges and corners; larger discs (10+ inches) cover expansive floors faster.
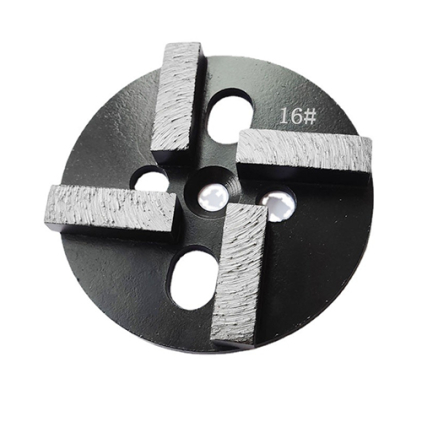
Diamond Grinding Pads: Match the grit (coarse, medium, fine) to your goal—e.g., coarse for heavy material removal, fine for polishing.
 Pro Tip: Pair your grinder with a dust extraction system to keep your workspace clean and safe!
Step 2: Prep Your Space & Safety Gear
Safety first! Before using a floor grinder:
Clear the area of debris and furniture.
Seal off doors/vents to contain dust.
Wear PPE: Safety goggles, respirator, ear protection, and gloves.
Check for hidden pipes or wires beneath the floor.

Step 3: Master the Grinding Technique
Start Slowly: Turn on the grinder and let it reach full speed before contacting the floor.
Overlap Passes: Move in a consistent, overlapping pattern to avoid uneven spots.
Adjust Pressure: Let the machine’s weight do the work—pressing too hard can damage the floor or disc.
Edge Work: Use a handheld angle grinder for tight corners or edges.
 Common Mistake to Avoid: Skipping grit stages. Jumping from coarse to fine without intermediate steps leads to subpar finishes.
Step 4: Post-Grinding Cleanup & Maintenance
Vacuum dust thoroughly before applying sealants or coatings.
Inspect the floor for missed spots or imperfections.
Clean the grinder’s discs and check for wear. Store in a dry place to prevent rust.

Why Floor Grinding is Worth the Effort
Longevity: Removes weak surface layers, enhancing concrete durability.
Aesthetics: Creates a smooth, polished base for epoxy, tiles, or stains.
Cost Savings: DIY grinding cuts labor costs vs. hiring professionals.
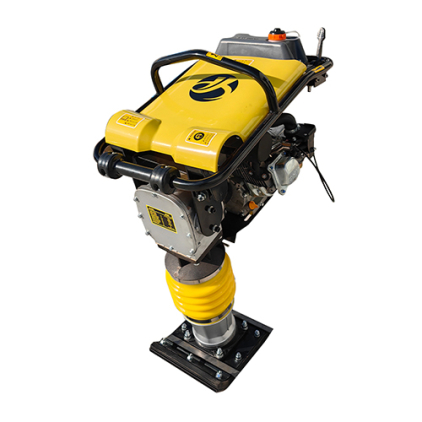
![]() Ready to Transform Your Floors?
Ready to Transform Your Floors?
 Ready to Transform Your Floors?
 Using a floor grinder might seem daunting, but with the right tools and techniques, you’ll achieve results that rival the pros. Whether it’s a garage, warehouse, or patio, this guide ensures your project shines—literally!
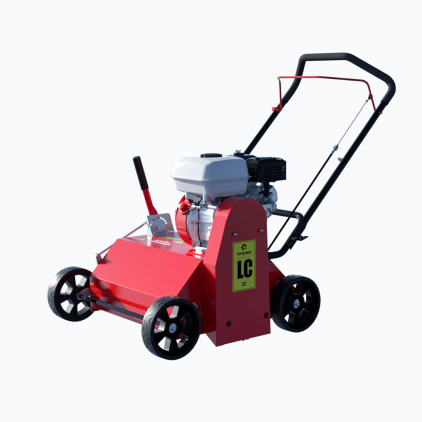
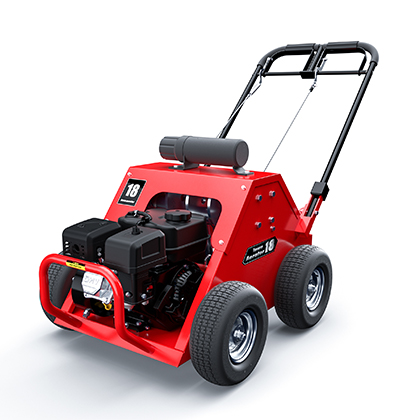
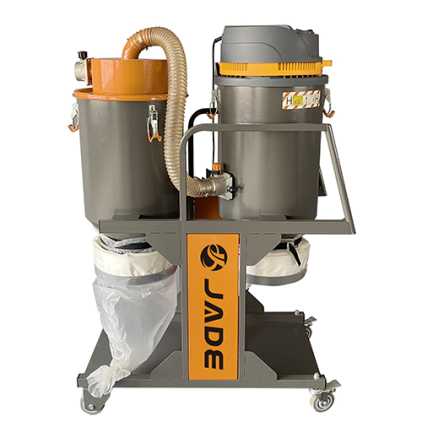
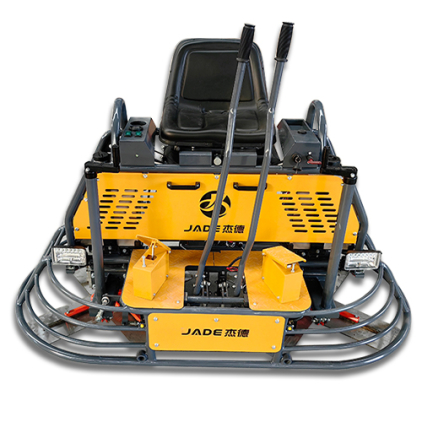
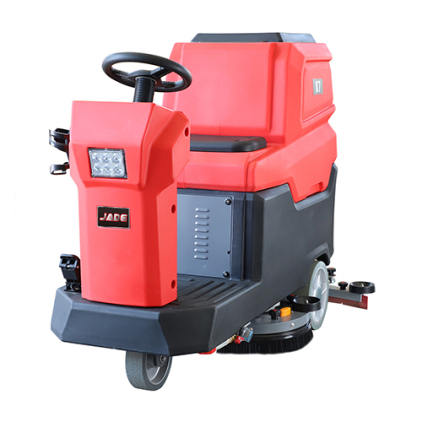
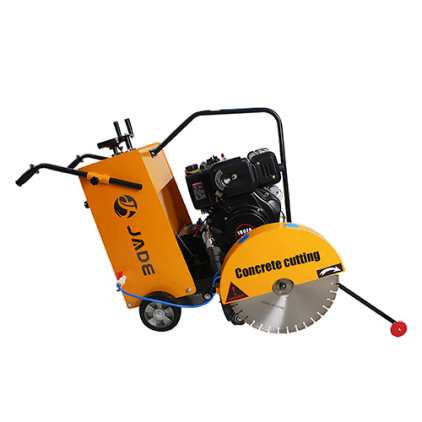
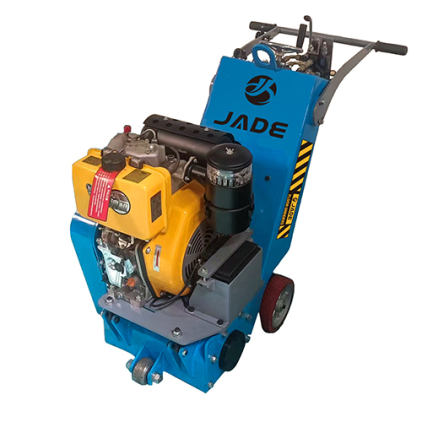
![]() Perfect Recommendation:
Perfect Recommendation:
 Perfect Recommendation:
 Products of Jade Floor Machinery
Including JADE-900CR, JADE-850CR, JADE-700SH, JADE-640SH, and JADE-430SH.
Different models can meet your various needs. Whether it is removing old paint or grinding a new floor, our floor grinders can handle it with ease! With powerful motors and advanced grinding technology, they can work efficiently, making the floor as smooth as a mirror. This greatly shortens the construction period and saves labor costs. It is the best choice for you to create high-quality floors!


Meta Description: Discover how to use a floor grinder like a pro! Our step-by-step guide covers safety, techniques, and tips to achieve smooth, durable floors. Perfect for DIYers and contractors.


